
Autocompleting commands while typing
Texifier has an advanced and configurable autocomplete system capable of autocompleting straightforward commands, autofilling the \ref,\cite and \begin families of commands, and autocompleting custom commands and environments defined via \newcommand and \newenvironment macros.
Command autocompletion
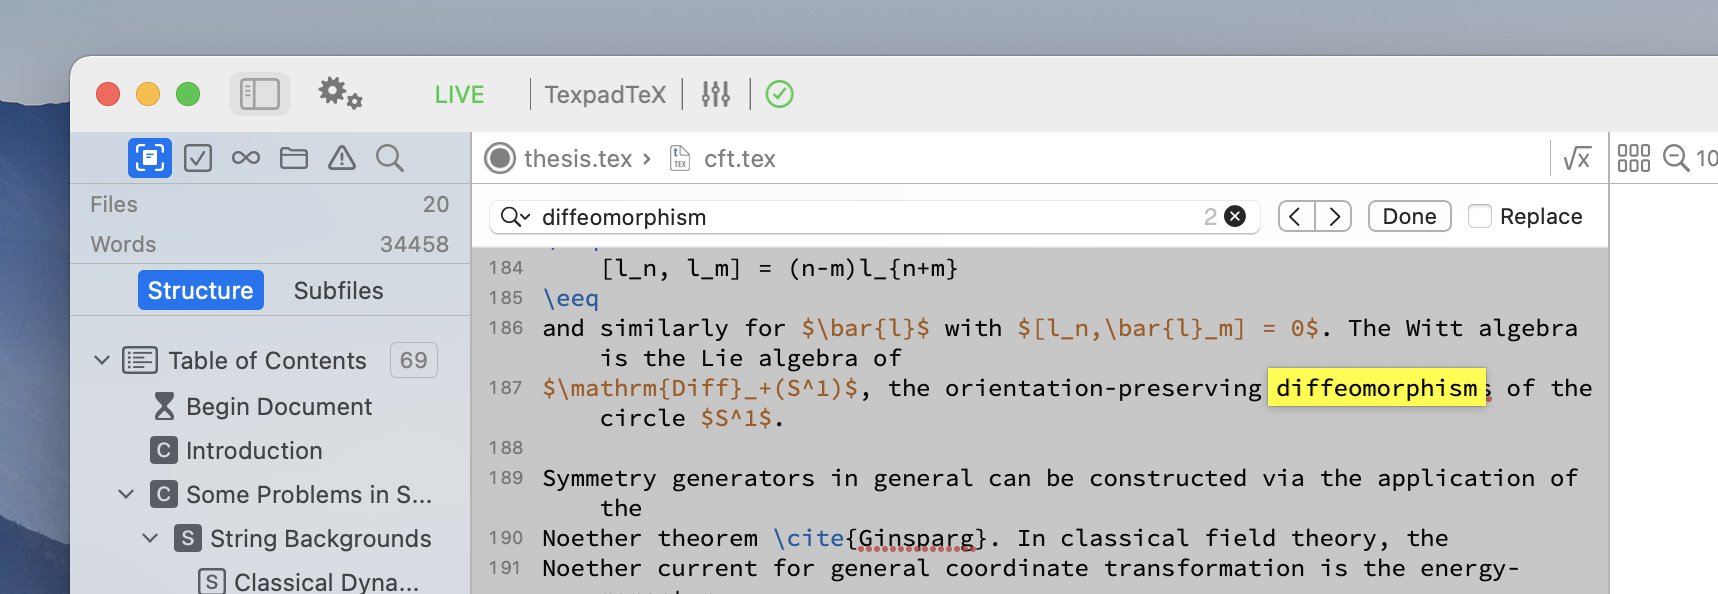
Type a standard LaTeX command and a small window will appear next to the cursor with a list of possible completions, and information about the highlighted entry at the bottom of the autocomplete list. You can accept an autocomplete with the Tab key, and dismiss the autocomplete window with the Escape key. Up and down keys will change the selected autocomplete. You can disable autocomplete entirely with the
Autofill command parameters
When typing commands with parameters such as \cite{}, \ref{} and \begin{}, Texifier will not only help complete the command itself, it will also fill the argument, known as autofill.
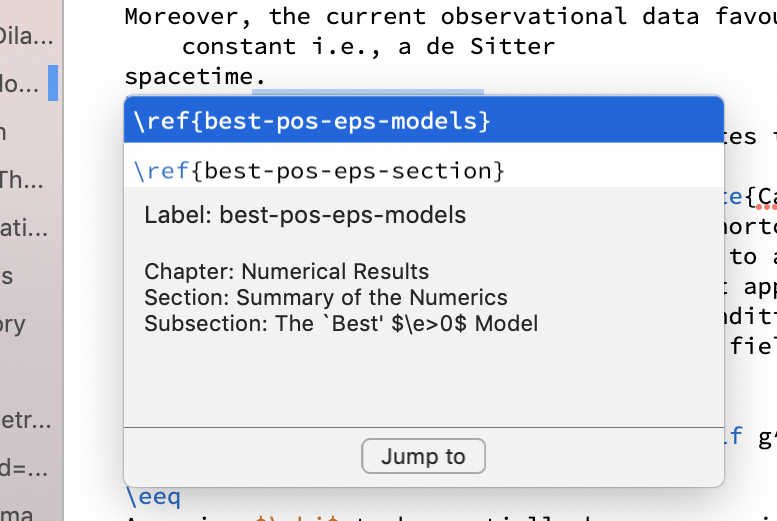
Texifier will parse any BibTeX or LaTeX files in your project, looking for \labels, \bibitems and .bib file entries. If you type one of the \ref{ family of commands Texifier will offer all known labels as possible completions.
Texifier knows many other autofills beside these, for example, it will autofill \bibliographystyle{ commands, \usepackage{ and \begin{ commands, amongst many others.
Automatching blocks
If you insert a \begin{ command from autocomplete and there is no matching \end{ command, Texifier will insert one. Texifier will also generate a matching
\end{some environment}
every time you press return on a line with
\begin{some environment}
This behaviour can be enabled or disabled with the \begin with \end option in the Preferences window.
Auto Indent
When you press return, Texifier will insert an equivalent amount of whitespace as there is at the beginning of the current line. This behaviour can be enabled or disabled with the
Auto itemise
In certain types of environment, e.g. the itemize and enumerate environments, Texifier will insert an \item command every time you press return on a line containing an \item command
Configuring Autocomplete
Custom Autocomplete commands are stored in the autocompleted_commands.txt file inside Texifier’s Application Support directory. You can open this file in Texifier by clicking the menu item in the menu. Once you have changed this file you must reboot Texifier for the changes to take effect.
This file consists of lines that are either a comment, and autocomplete command or an autofill identity. Their syntax is explained below.
Comment
The first non-whitespace character in the line should be a % symbol. E.g.
% This is a comment line
Autocomplete
A line that describes a custom autocomplete. This consists of four parts, the first mandatory, the second, third and fourth optional.
Key
The first entry should be the autocomplete key. For a regular command this should simply be the command without the preceding slash, e.g. for \documentclass write documentclass.
For an autofill autocomplete (e.g. \begin{someenvironment} or \documentclass{article}), write the first stage, followed by a colon, followed by the autocomplete. e.g. begin:someenvironment or documentclass:article.
Autocompletes will always be sorted alphabetically, but some autocompletes are more commonly used than others and there may be one you wish to prioritise over others. To prioritise an autocomplete, prepend a stars to the key, the more stars, the higher the priority. For example to prioritise \documentstyle so that it is selected by default instead of \documentclass, add an entry beginning ***documentstyle. In the case of an autofill complete, place the stars after the colon.
Description
To add a description, append a | character followed by the description. This description is presented to you in the autocomplete menu when typing the command in the editor.
Files it is defined in
To note the file the command has been defined in, write an @ character followed by a comma separated list of files.
Files it is redefined in
To note the files the command has been redefined in, write an @@ followed by a comma separated list of files.
An example of a simple \documentclass command with no description is
documentclass
An example of an environment with a full description is
begin:*fake | description here @ a.tex @@ b.cls, c.sty
Placeholders
Texifier’s autocomplete is capable of leaving placeholders in the text. These show as blue badges, and when there are placeholders in the editor, pressing tab will jump between them. This accelerates inserting commands, and filling out the arguments.
To create custom placeholders, please add the command and any arguments as an E.g..
For example, a single placeholder can be inserted as follows.
somecommand | Some example command E.g. \somecommand{argument}
And you can insert multiple placeholders the same way
frac | Fraction in math mode E.g. \frac{numerator}{denominator}
Autofill identity
In many cases different commands are autofilled in the same way. For example, begin and end are autofilled identically. To save you entering the options all again, you can add an autofill identity between, for this example begin and end. This should begin with an =, followed by the new autofilled command, followed by a colon, followed by a fully defined autofilled command (not another identity). There should be no whitespace at all on the line. To return to the begin and end example, where the autofills have been defined for begin, you would write.
=end:begin
This is useful if you have defined a custom referencing command. You could write
=customref:ref
Texifier would autofill when you type \customref{.
Comment/Uncomment
To comment an entire block of text, that is to say stop it appearing in the final document, then select the block and press
Indent/Unindent
If you have a block of text you wish to indent, then rather than pressing tab at the beginning of each individual line, select the entire block of text and press
The indented string will be the same as your Tab key would indent. This can be configured in the preferences pane.
You can unindent in the same way with
The indent size may be customised using the
Info boxes
Many LaTeX commands are used to create references to other parts of the document, for example \cite{}, \ref{} and \includegraphics{}, which reference bibliography entries, labels and image files respectively.
In these cases Texifier is capable of creating a short summary of the referenced entity, which is displayed in the Autocomplete window. It is also displayed over the editor if you place the cursor in the command and wait. For BibTeX entries, Texifier will display as many BibTeX keys as is practically possible, for Labels Texifier will attempt to display the context of the label (section title, etc.), and for images it will show a preview of the included image.
Snippets
Since version 1.5, Texifier has supported Snippets functionality to make it easy to insert regularly used blocks of text into your document. Texifier is distributed with a small number of helpful Snippets, but the system is fully configurable. You may edit them and/or add your own.
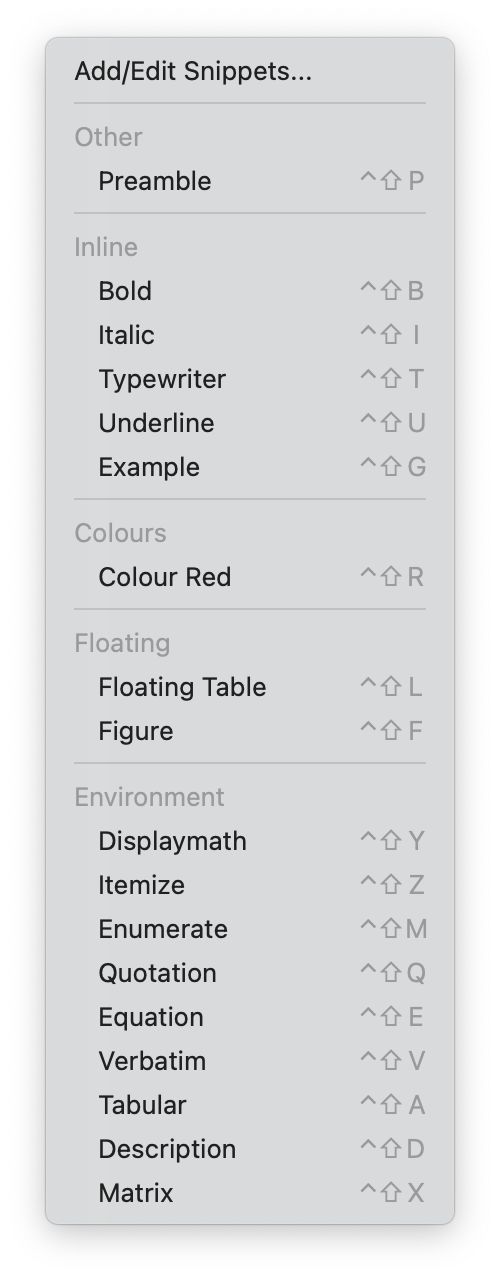
Usage
To use a Snippet, either choose the Snippet from the dropdown menu, or press the associated hotkey – all hotkeys are activated with a control key.
Configuring
All snippets are stored as text files in the Snippets subdirectory of Texifier’s Application Support directory. To open this directory, click the option from the top of the menu.
To delete a snippet delete the file and it will be removed when Texifier is rebooted.
To rename a snippet, rename the file containing the snippet. The file extension is ignored, and will not form part of the snippet name.
To add a snippet, either copy the snippet file into the directory, or create a new file in that directory, with the name you want the snippet to carry.
Syntax
Snippet files are flat text files with a straightforward key = value syntax. Lines beginning with a % sign are interpreted as comments and ignored. All other lines have a key = value syntax.
The key is flattened. That is to say all whitespace, dashes and underscores are stripped and the entire key is rendered into lower case. For example Ctrl-Key, Ctrl key and ctrlkey are all equivalent keys.
If there is no right hand side to the line, then starting with the next line, all lines until the end of the file are used as the value.
An example file follows.
% A snippet to insert an itemize environment
ctrl key = z
group = Environment
insert at cursor =
\begin{itemize}
  \item
\end{itemize}
Hotkeys: Key combinations associated with snippets
Keys understood by Texifier are
| Key | Explanation |
|---|---|
| ctrl key | The value must be a single character. It is the key that when pressed with the control key is the hotkey for this snippet. |
| group | The name of the group that this should be displayed in. |
| insert at cursor | The text that should be inserted at the current cursor position. Any currently selected text will be substituted for <SELECTION> and the new selection will be placed around that text. |