
You may need to add a graphics file to your LaTeX source. LaTeX provides highly sophisticated ways of achieving that and Texifier supports them in new innovative ways. Live typesetter TexpadTeX will even typeset your document with these images into PDF shown in the in-build viewer live as you type the in the editor.
Required Commands & Packages
To typeset with images in either Texifier iOS and macOS, you must use a graphics package, e.g. graphicx (added to your LaTeX source using the usual \usepackage{graphicx} command, see package documentation on CTAN \includegraphics{...} to add an image to your LaTeX source.
So to include an image saved as file my-image.png, we would simply write the following LaTeX code,
\documentclass[11pt]{article}
\usepackage{graphicx}
\begin{document}
...
\includegraphics{my-image.png}
...
\end{document}
.png in the \includegraphics command. Other typesetters such as pdfLaTeX may differ, with standard practice being omitting of the extension.Where to Save an Image File
The image file my-image.png in the above example would be expected to be residing either in the same directory as the .tex file that includes it, or in a folder that is on the typesetter’s search path.
It is best practice to store all of the includes of a project in the parent folder of the root .tex file, or in a subfolder under the parent folder. This makes the project easy to move as a whole as the paths to these image files can be entered in \includegraphics command relative to the root .tex file. When the project folder moves to a new location, paths of all the image files stay constant as they are relative to the project folder.
Dragging and Dropping Images
On macOS, in addition to including the relative or the full path of the image in the \includegraphics{my-image.png} command, you can simply drag and drop the image in the Texifier editor, which will insert the full command for you. For instance, dragging an image file domain-colouring.png
will result in inserting
\includegraphics{domain-colouring.png}
into the editor as shown below
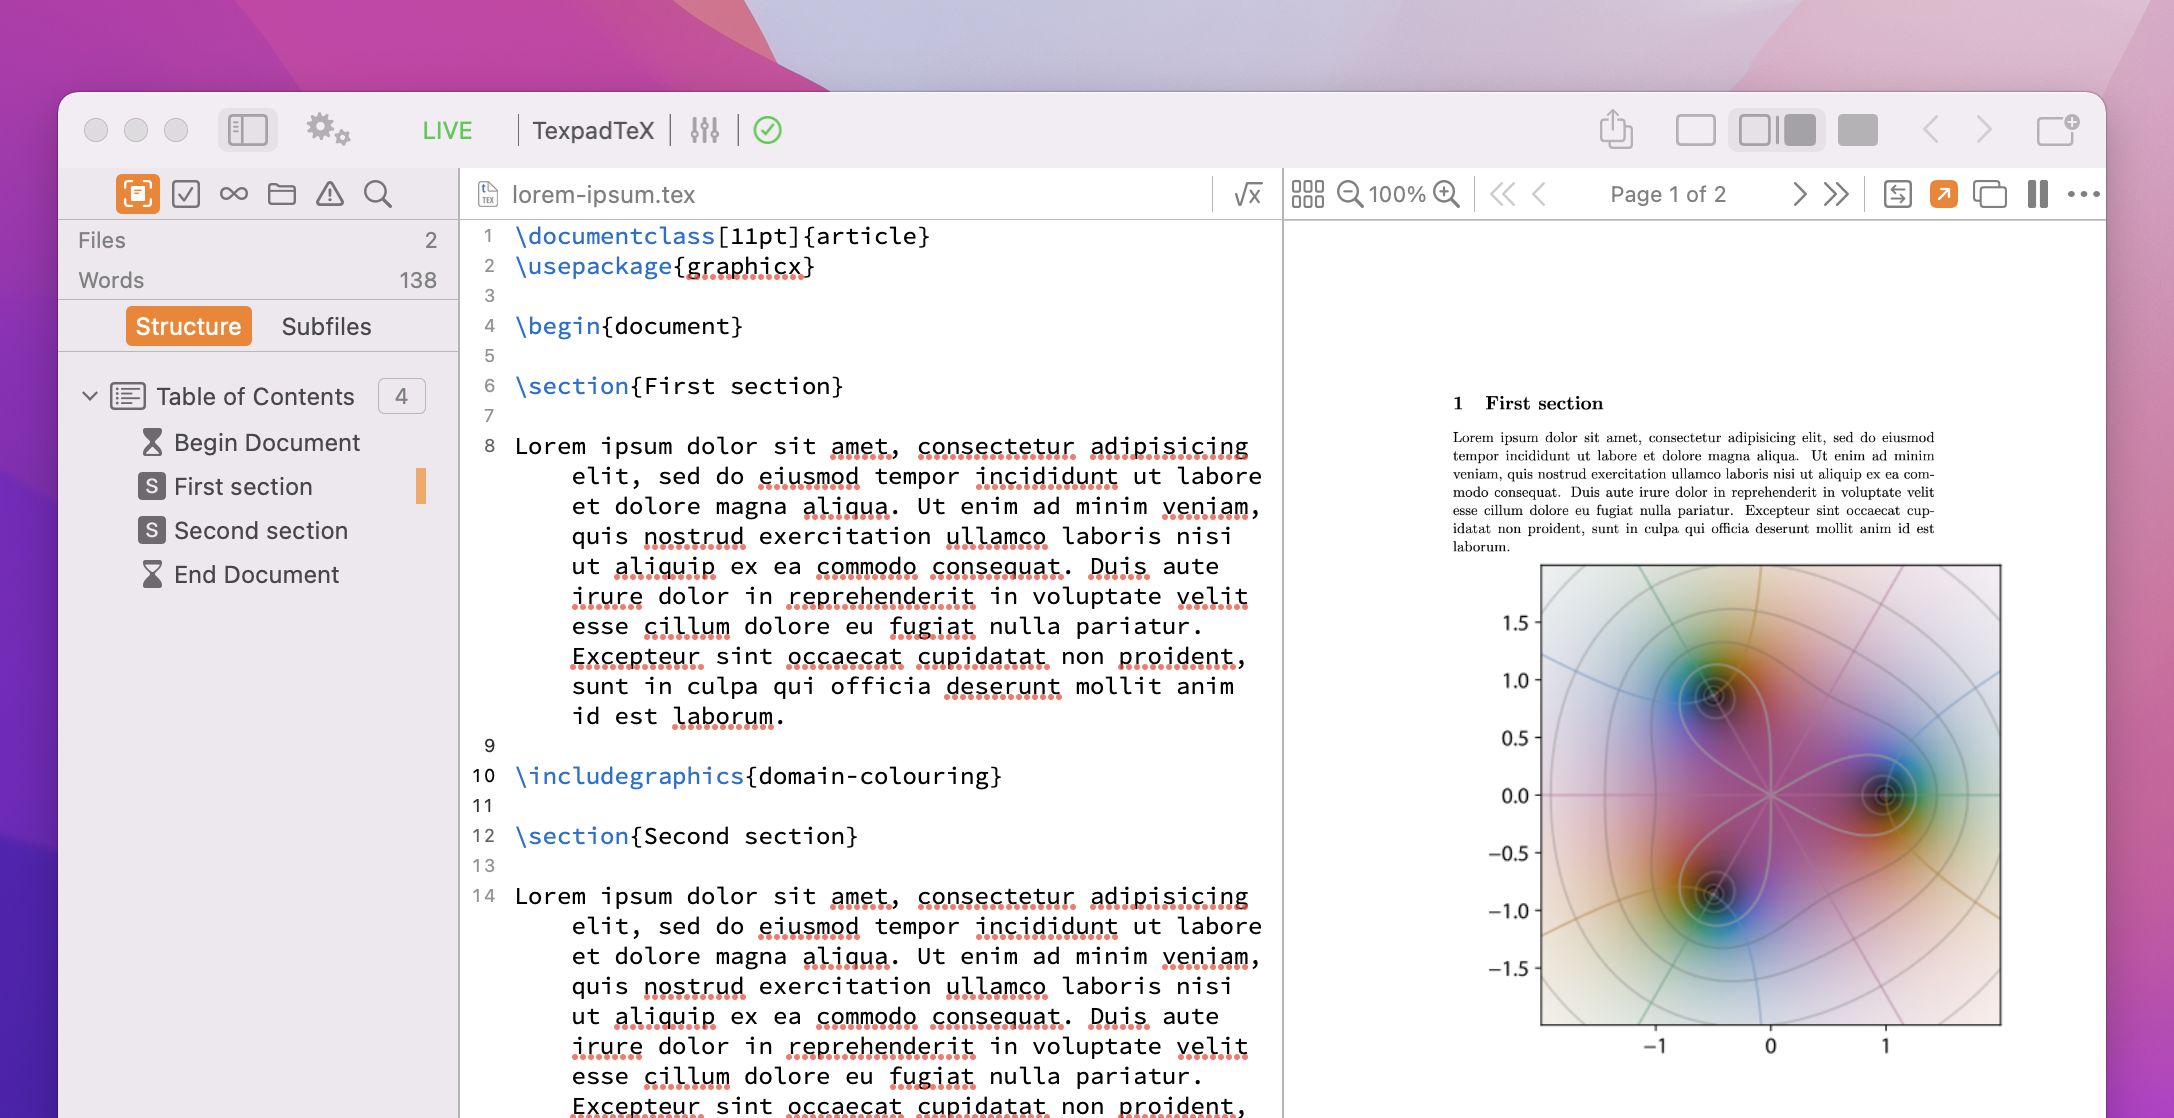
If you’re using the default live typesetter, the image will instantly render itself into the output PDF as shown above.
If you wish to change the size of the image in the typeset PDF or any of its other attributes after an dropping the file, you can modify the command to \includegraphics[OPTIONS]{domain-colouring.png}, replacing OPTIONS with the precise parameters you need. Please consult the package documentation for graphicx
Note that dragging a file to the editor will not move the file from its original location. It will simply add an \includegraphics command with the path of the file.
Note that this dragging of images may be done from various sources,
Dragging images from File Browser (the File Browser pane
in the sidebar ) You can drag and drop an image from a Finder window, or from Desktop. As the file is left in its original place, if the folder the image file is being dragged from is not the same as the
.texfile, it will create a dependency of the.texfile to files outside of its parent directory. This should be avoided in general and it makes the project difficult to move without fixing all the non-local includes.